


Image Based Configurator Product

Product Setup
Creating this kind of product is initially straight forwards in that it's a "simple" product
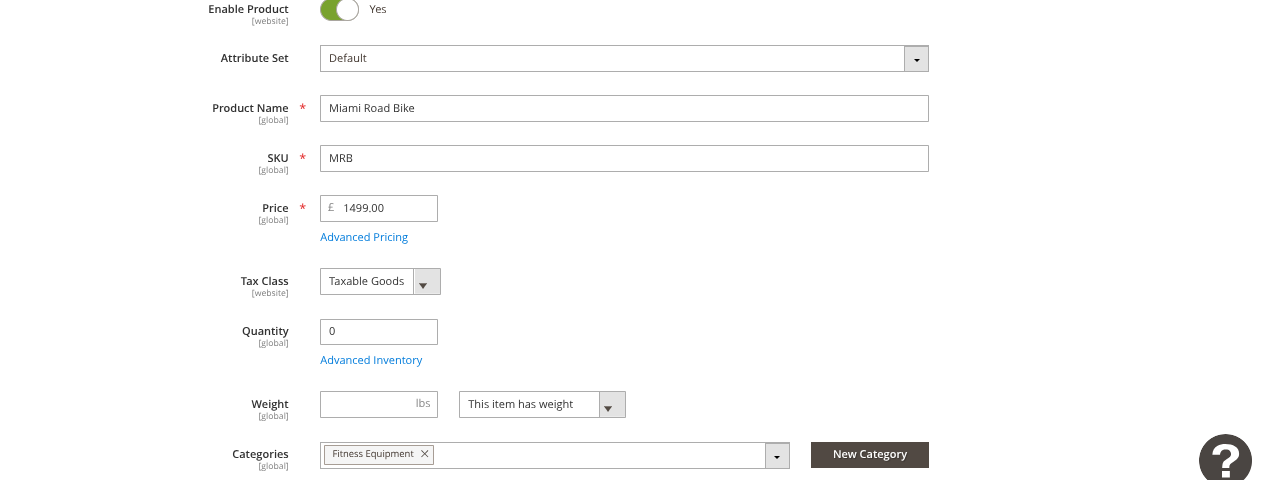
Go to admin and create a new product
Give it a name a sku and a base price (this base price can be 0 if you don't want an initial charge and only want to charge for the custom options)
Ensure a category is set
Ensure the product is assigned to a website
Add a base image in images and videos (this is what your overlaid images will sit on top of)
Customizable Options
Go to customizable options
Add option
Each option is a group of values that the user can select from, for example...
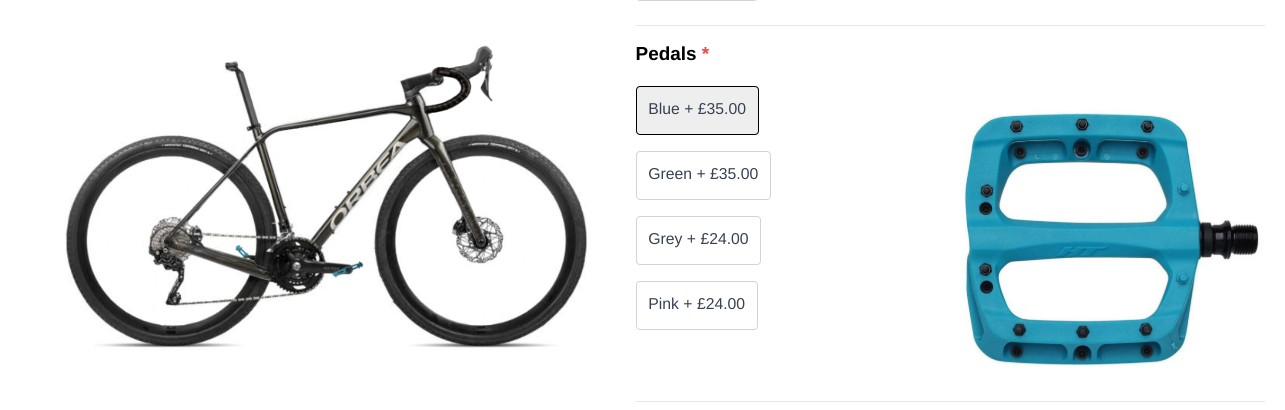
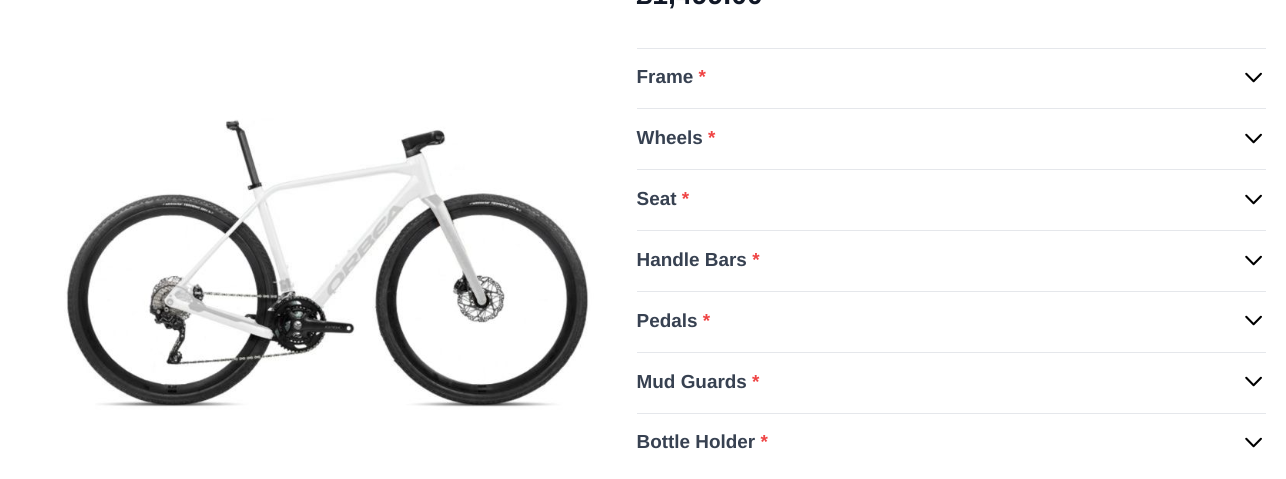
Look at the Miami Road Bike here
"Pedals" is an option which has four values the user can select, in this case these are different colours
Now you've added an option, give it a title ("Pedals" for example)
Ensure option type is set to radio
Decide whether the option should be required or not

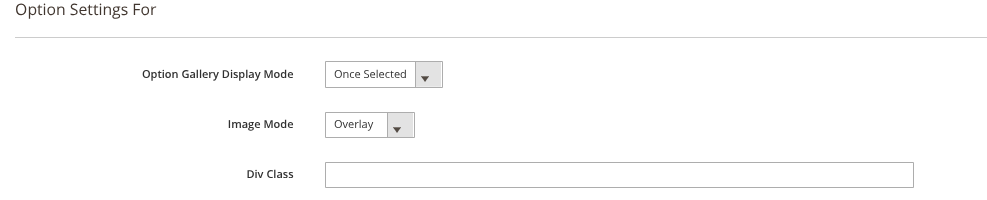
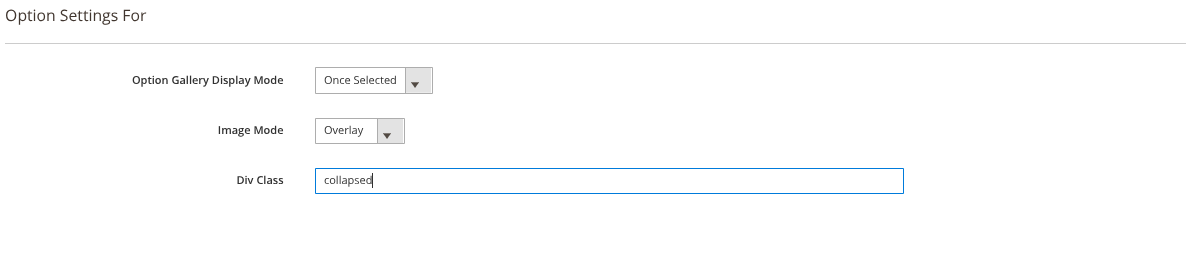
Click on the option settings (cog icon)
Set option gallery display mode to "Once Selected"
Set image mode to "Overlay"
Repeat this process for all the different options you require
Add values
Each value is something the user can select, for example…
The bike has an option for pedals. Inside this option are four values which allows the user to choose the colour of the pedals.
Choose the value title and price
Repeat this process by adding more values and images for the different coloured pedals

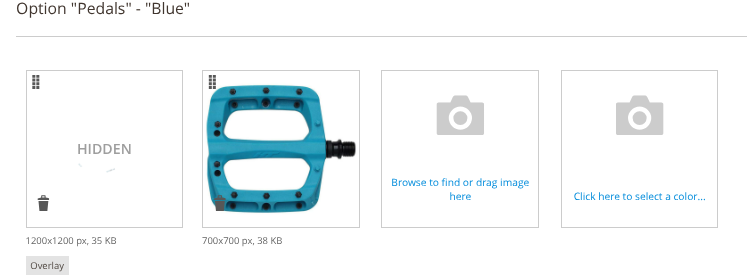
Overlay Images
These images lay on top of the base product image, they will be displayed when the user clicks that particular value
Here's how to add an overlay image for your values
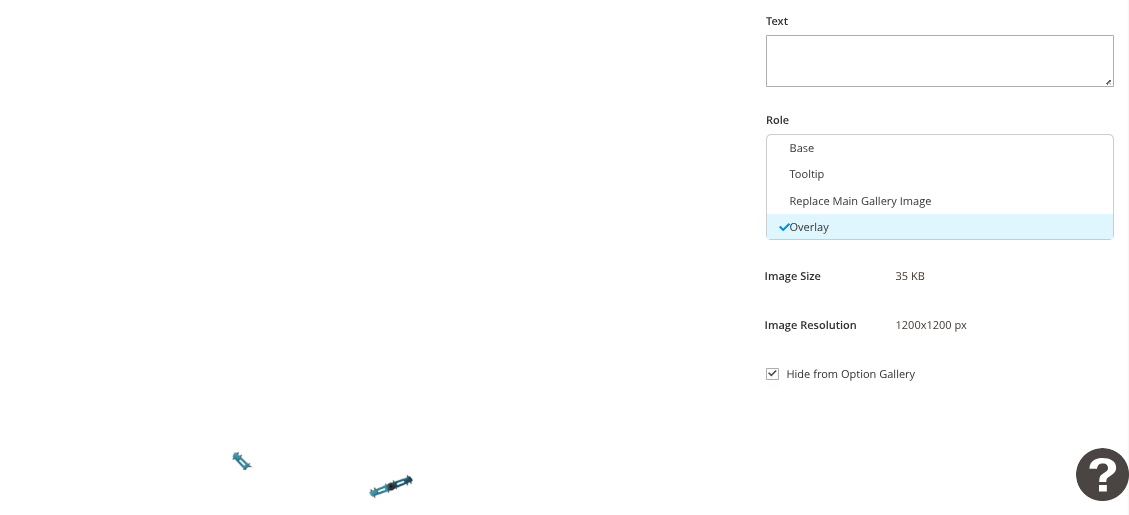
On the individiual values you will see an image icon; click it
Add an image
Ensure role is set to "Overlay"
Ensure that "Hide from option gallery" is checked
Secondary Images
As well as being able to add overlay images to each option, we can also add secondary images. These are very useful in cases where you might want to show that product option in more detail (zoomed in for example)
These secondary images will display to the right hand side of your options
To add a secondary image simply upload a new image to the option.
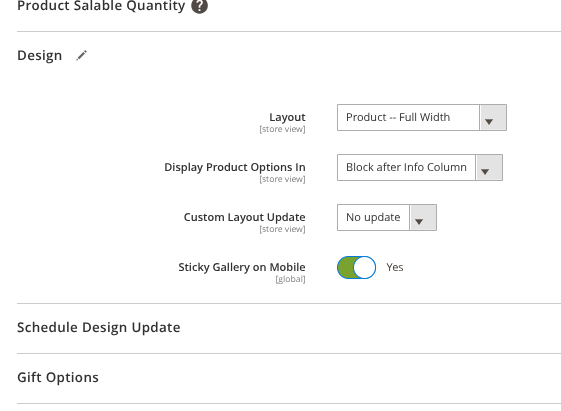
Display Options
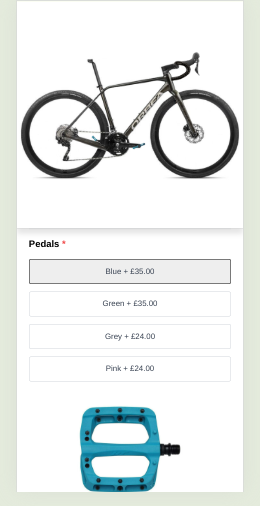
"Sticky gallery on mobile devices"
Enabling sticky gallery on mobile devices ensures that the main image gallery is always visible on mobiles which is sometimes essential when creating image based configurators
To do this, go to the product in admin
Scroll down to "Design" and set "Sticky gallery on mobile" to "Yes"
Collapsible options
In cases where you have a lot of options, you may want to show some/all options as collapsed when the page loads
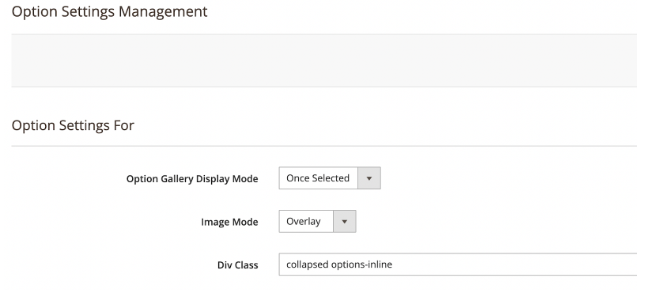
To do this select the option settings (cog) of the option you want to collapse
Now add the word "collapsed" into the Div class field
Inline-options
In cases where you have a lot of options but no secondary images, you may want to show the options inside a group inline, as opposed to on top of each other
To do this select the option settings (cog) of the option you want to change
Now add "options-inline" into the Div class field